
Last updated October, 2024.
Prep time:
Cook time:
Carryover and carving time: 45 mins on average
Total time:
First timer total time: 4 hours
INTRODUCTION TO DEEP FRIED TURKEY
How many times have you sliced into a tasteless, bone-dry turkey on Thanksgiving wishing your fowl had not run afoul in the oven? This year, try frying your bird instead.
Why fry? There is no other way I can think of to cook that will give you a moist, delicious turkey in such a short period of time. The skin will be crispy and the meat will be juicy and–depending on how you marinade it–spicy.

Deep frying a turkey is not a horribly difficult thing to do, but it requires some preparation and effort to do it right, especially the first time.
There are plenty of variations from this recipe that can be done, and if you know what you’re doing then by all means go ahead and variate. But if you’ve never done this before then pay attention, I’d hate to hear that you had deep fried arm for dinner.
A word of caution right from the start- this whole process must be done outside. Keep in mind that you will be working with bubbling, spitting oil heated to 350° Fahrenheit. There are plenty of stories that circulate on the web about people who have burned their house down attempting to do this inside.
Don’t just take our word for it:
Consumer Reports has issued a caution on turkey fryers stating that Underwriters Laboratories (UL) has refused to certify any turkey fryer as safe! UL said all of six cookers examined could overheat oil to the point of combustion and goes on to use words like “scalding,” “flames.” “engulfed” and “fire.” Don’t say we didn’t warn you to do this outside. For more info, check out Consumer Reports. If you insist on doing this in your kitchen, CU has reviewed a small electric fryer, which may not burn your house down as often. This fryer is also available at Amazon.
BEGINNERS
Aside from the regular ingredient list, first time fryer’s are going to need the right utensils. Only a few years ago, I would have told you to start with a big pot and a wire hangar and scrounge up the rest of what you’ll be needing. But today there are quite a few companies that make all-in-one kits. A basic kit includes a large pot, turkey stand, lift hook & fry thermometer. Spend a little more and get one that includes an injector and a burner if you don’t already own one. The addition of a smaller fry pot and a basket will turn that one-hit kit into a frying multi-tasker. Make sure the pot is at least a 26qt… you can get a 30qt. or more, but consider this: you’ll have more room to breathe, but if you’re going to only be cooking 10 pound birds, that larger pot will just waste oil.
Eastman Outdoors has a prominent history building and supplying outdoor cooking appliances, and many of them are readily available online. Eastman makes many kits with aluminum and stainless steel pots. If you are one of those people that likes shiny new toys, go for the stainless steel 30-quart professional kit.
If stainless is a little too costly, try one of Eastman’s aluminum combos.
Then there is Bayou Classic, another brand we highly recommend, who makes several size kits- a 28qt., a 30qt. and a 34qt. aluminum pot kit- the burner can be cranked up to 185,000 BTU’s. It has a 14″ wide welded steel frame (that is quite rugged) and a turkey stand & hook. The only thing we don’t like about this kit is the plastic injector. The Bayou Classic brand is sold online (extensively) and nationally at Home Depot, and can be found for as low as $136, or as much as $200 for a full-out stainless kit.
Chef William’s (of QVC fame) may or may not still sell kits, but it’s just as well. The original fryer we had for review was poorly made and used a basket to fry the turkey instead of a stand. But his Cajun Injector is still available, and is still the best injector you can buy.
Overall, our recommendation would be the Eastman or Bayou Classic brands for a kit and then a marinade pack that comes with an injector.
As we mentioned in eye-catching blockquotes above, at this time NO turkey fry kits are UL listed, so cook with caution. There are a few so-called “safer” alternatives that have come on the market in the past few years such as the very highly review-rated Char-Broil Big Easy Oil-Less Infrared Turkey Fryer and the Masterbuilt Indoor Electric Turkey Fryer. Although both are highly rated on Amazon, we have not used them.
It seems each comes with it’s own tradeoffs for each advantage: The infrared model may be safe because it uses no oil, but hey… it uses no oil, so that’s not much of a fryer… and it takes 10 minutes per pound to cook. The electric Masterbuilt has eliminated our main complaint and no longer has a 14lb limit… a newer X-tra freakin’ large version can handle birds up to 20lbs and can be used indoors with less oil. It also has a thermostat. The real tradeoff comes with the lack of the outdoor bonding experience with the beer-drinking men if you choose to use it inside… you may end up in the kitchen with the ladies, and you can’t wear a Real Men Fry Turkeys fry guard and Gauntlet Gloves in there… it’s an apron and oven mitts for you.
GETTING STARTED
Before creating an actual ingredient list, let me tell you a bit about why you’re going to need the things on the list.
A 15-19 pound turkey is about the maximum size to deep fry. Aside from being unwieldy, larger birds need to cook much longer. Your Birdzilla would take over an hour and most likely the skin and tasty appendages would be overcooked. That said, you can cook larger birds (up to 20 pounds, or whatever fits in your pot) but make sure the wings are in the overhead position (see below) and the legs are tied to the holder so that they don’t splay open.
An injector is used to infuse the bird with liquid seasoning. When the oil sears the skin of the turkey on contact, the natural juices and the marinade are sealed in- meanwhile, the oil is sealed out. I’ll explain how to do this later on when we inject the bird. The dry seasoning is used as a dry rub on the skin of the turkey (and inside if you’d like). I love Tony Chachere’s Original Creole Seasoning (the one in the green shaker) so that’s what we’re going to use. If you don’t have this, or want to substitute your own favorite brand, go right ahead. Belly Buddy Scott Stout uses nothing but Zatarain’s
and insists on adding bourbon to the marinade.
 The oil you use is up to you but most prefer peanut oil for this type of cooking. It is healthier, tastes great and has a very high flash point- meaning that it is the least likely to smoke or flame up and start a fire. It’s also the “Cajun” way to do this. Now that turkey frying is so popular, 2 to 3 gallon jugs are easy to find at Sam’s, BJ’s & Costco as well as Wal-Mart, Lowe’s and Home Depot.
Just like it’s cousins–heating oil and fossil fuels–cooking oils go up and down in price. Over the years, I’ve personally settled on LouAna 100% peanut oil but I will not link to it (in 2024) because it sells online for $120 for 3 gallons! In 2019, I found a 3 gallon jug for $25. Please, don’t bother with oils like cottonseed from brands like Turkey Gold… oh, unless you like pesticides in you non-traditional fry. But now that peanut oil is so expensive, I am less likely to be an oil snob and fry oil blends may be all you can get!.. just check that the blend is more peanut oil than say, cottonseed. Later we discuss how to store and safeguard your used oil for other frys or say, an apocalypse where we all barter in peanut oil for $100 a gallon (Deep Fried Zombie!)
You should also have meat and fry thermometers on hand. One of the biggest fail points I have seen in doing this is the fry thermometer. I have more than one so I can check them against each other… you’d be surprised by the temperature differences. A few years back, I bought a Maverick Digital Oil Thermometer thinking this would solve all my problems. Well, it certainly helped reassure me of the oil temp, but I still kept an analog thermometer next to it to compare. My biggest complaint was that the clip does not attach well to the pot, such that the angle of the probe is right in the way. I solved this by reversing the clip.
So to recap, here’s what you’re going to need:
- One 15-19 pound turkey
- 3 gallons of peanut oil (or blend, thanks inflation)
- 8-16 ounces of liquid seasoning (marinade)
- Tony Chachere’s Creole Seasoning
- 26 quart (at least) pot
- Burner & propane tank
- Oil thermometer
- Meat thermometer
- Turkey stand
- Lengthy hook
- Oven mitts, or the considerably more manly asbestos gloves
Every pot is different. There is a clever trick to figure out how much oil you need, especially for the first-timers… prior to adding any marinade or dry rub, place the bird in the pot and fill it with water until it is completely submerged–then remove the bird. The amount of water you are left with in the pot is your oil level- make a note of it with a felt tip marker or by scoring the pot. I would fill with oil to about 1 inch below that line because the oil can bubble very rapidly and expand. Since I usually use about a 15 lb bird I have permanent etchings in my pot. I’ve also learned that it’s easier to add a cup of oil than remove it when it’s over-flowing 🙂
The marinade is up to you–you can season to taste. If you have a favorite that you have used with fowl, or you like to create your own, then give it a try. I’ve tried a few, but I always return to Tony Chachere’s Injectable Marinade (their garlic and butter marinade is very popular, and very traditional). It can be found at Amazon and Wal-mart, and Shop-Rite and other grocers among others. If you have a favorite marinade, post it below.
Pardon us while we pay for beer…
PREP THE TURKEY
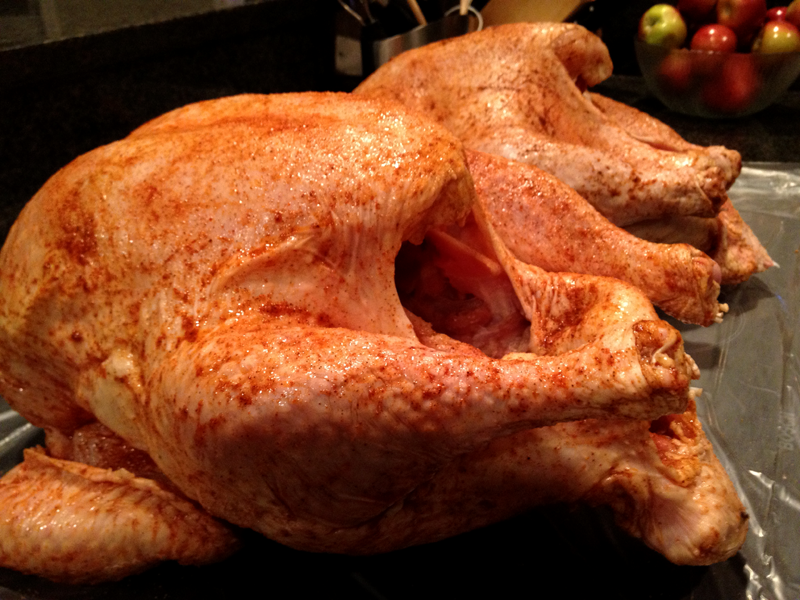
Make sure that the bird is completely defrosted. Remove the junk from the cavity of the bird and any plastic pop-up device–it won’t work here. Load the injector with your marinade. Carefully lift the skin from the meat and insert the needle into the meat rather than puncturing the skin. This keeps the marinade and natural juices from leaking from the turkey when you fry it. Do this in several locations, including the breast, thigh and drumstick (if your bird HAD a pop-up thermometer, you may as well use that hole also). As you retract the injector, press down on the plunger. Inject the breast in several different locations however be smart with each puncture hole and use each one in several different directions. The more marinade you use, the more flavorful the meat will be.
Try to do this the night before you plan on cooking the bird. This way it has several hours to marinade. The injection process definitely shortens the amount of time needed, so if you can’t do it the night before then a few hours before will have to do.
Using the dry seasoning, rub the bird all over… gently around the breasts and the thighs, then up and down the legs… yeah, you know you like it. Rubbing and massaging the bird will help the marinade to mingle with the meat.
BRING ON THE HEAT
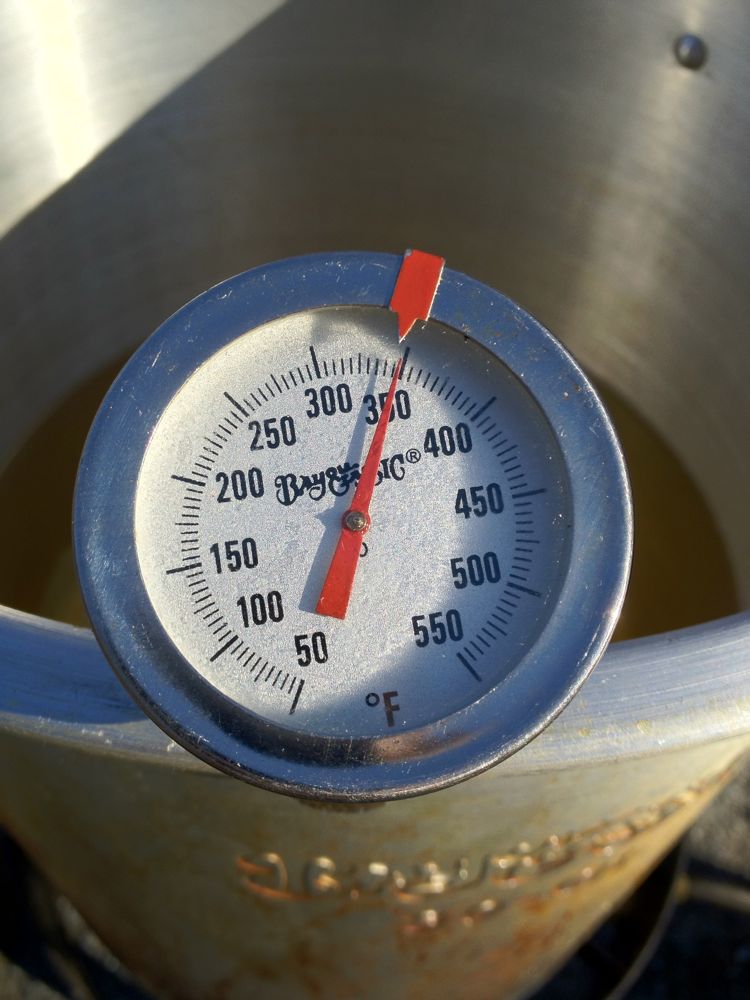
When you are ready to get cooking, put the oil into the pot and fire up the burner. It will take you at least 20-25 minutes to get the oil to 350° Fahrenheit depending on your burner, outdoor temp, and your elevation.
Make sure that the bird is dry. Water and oil do not mix very well–this would be pretty obvious if you threw an ice cube in the pot, but don’t do that. Instead, towel off the bird if you have to. Hold it up and make sure no water is in the chest cavity.
Place the bird on the turkey stand drumsticks up and head down (well, if he still had a head) and pull his arms back behind his shoulders if possible. I have recently began to hog-tie the leg stems together with wire to keep the legs from splaying open and laying on the side of the pot for the duration of the fry. This also keeps the legs close to the bird’s body and they will cook more evenly.
When the oil has reached 350° (375° max), use the hook to lower the bird slowly into the oil–and I do mean slowly–this will keep the oil from boiling over. Seriously, I can’t stress this enough… do it SLOWLY. Wear oven mitts, heavy-duty construction or asbestos gloves, or welding gloves and a long sleeve shirt.
Commenter BillC had an excellent idea that I have adopted: “I’ve found that it’s wise to turn off the burner when lowering the turkey into the oil and when removing the turkey from the oil. This will remove the risk of igniting any oil that may spill over the top of the pot while you’re lowering or removing the turkey.”
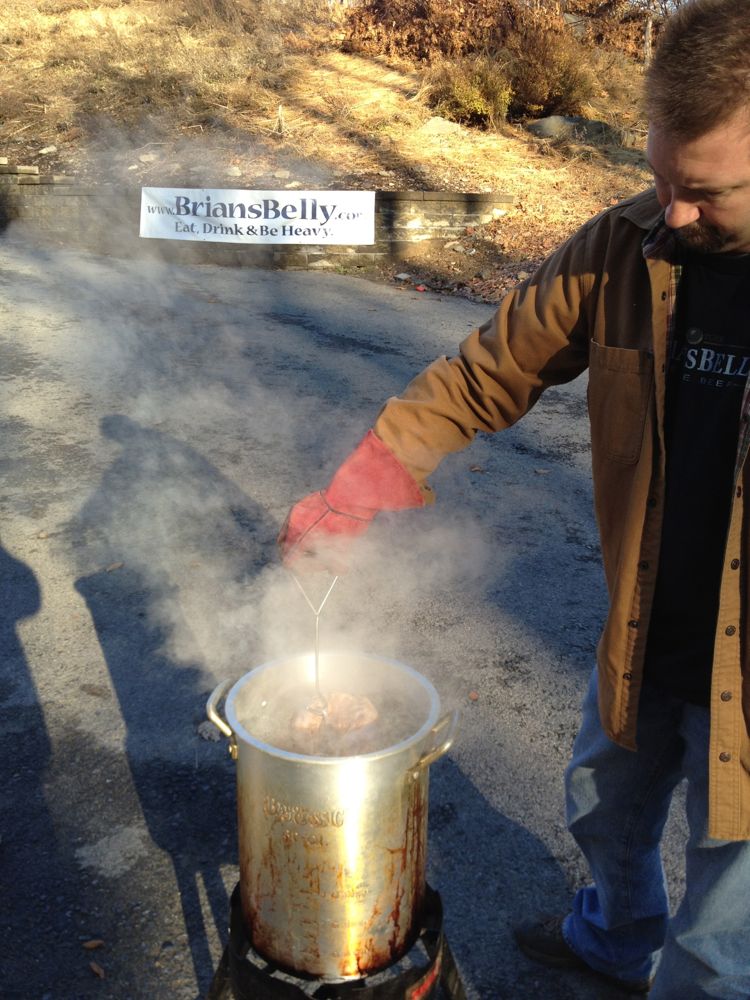 So the oil temperature will drop because you are putting a cold–or preferably room temperature–bird into the pot. There are all kinds of scientific thermal transfer issues going on here that only Alton Brown could understand, but all we need to know is that something hot plus something cold equals something warm. After the bird is in, reignite the burner full blast and get the temperature back up. Don’t put the lid on in an attempt to speed this up- the oil will get way too hot. As mentioned earlier, a dangerous situation can occur when the oil gets too hot… 450ºF to be exact. That is the temperature at which peanut oil could flash or smoke. When the oil is back at 350°, lower the burner intensity. Also, try not to let the temperature drop well below 330º or your bird may start to soak up the oil.
The cooking time varies and depends on the size of the bird. We’ll put it in a table for you. This is assuming 350°. If for some reason you can’t get your flame hot enough, it’s time for a better burner, such as the Gas One 200,000 BTU burner. THIS IS JUST A GUIDE! YOU HAVE TO USE A MEAT THERMOMETER AND CHECK FOR 160°F!
| Temperature 350°F | ||
| Weight | Minutes Per Pound | Total Time |
| 10 pounds | 3 | 30:00 minutes |
| 11 pounds | 3 | 33:00 minutes |
| 12 pounds | 3 | 36:00 minutes |
| 13 pounds | 3 1/2 | 45:30 minutes |
| 14 pounds | 3 1/2 | 49:00 minutes |
| 15 pounds | 3 1/2 | 52:30 minutes |
| 16 pounds | 3 1/2 | 56:00 minutes |
| 17 pounds | 3 1/2 | 59:30 minutes |
| 18 pounds | 3 1/2 | 63:00 minutes |
| 19 pounds | 3 1/2 | 66:30 minutes |
| 20 pounds | 3 1/2 | 70:00 minutes |
As we then say in all of our Brian’s Belly recipes… now would be a good time to grab a beer.
 BREAK IS OVER
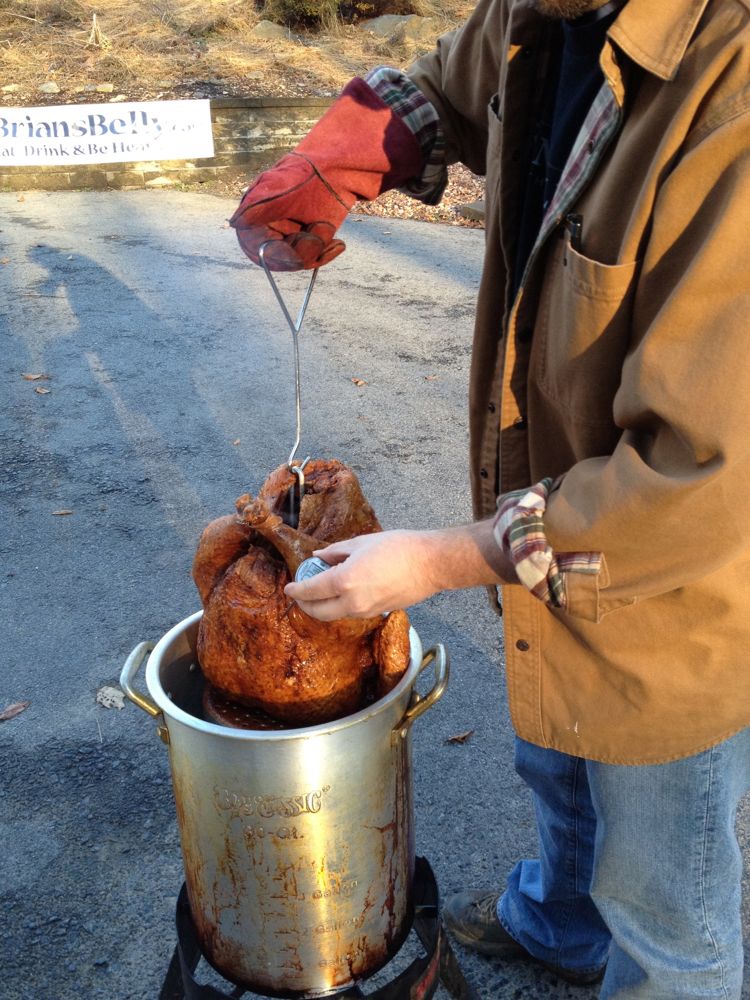
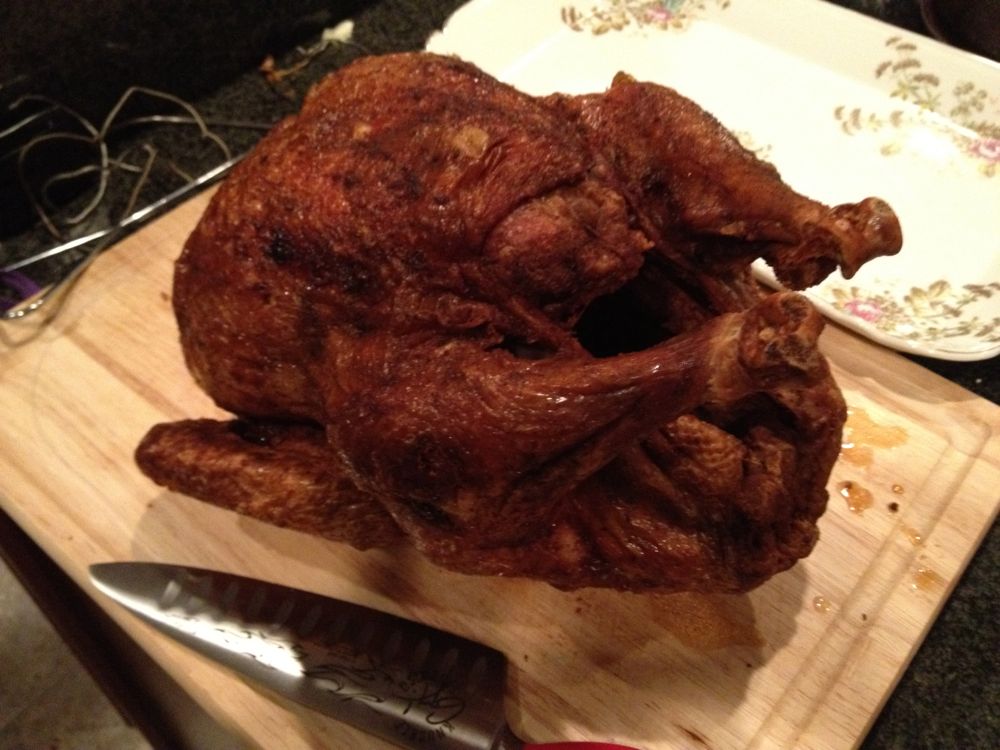
When time is up, don your mitts and using the hook, carefully lift the bird from the pot. Holding it over the oil, insert the meat thermometer into the breast. The temperature should be around 155-160° Fahrenheit. If it’s not, you may have to put it back it for a few more minutes- do not remove it too early or eat it undercooked.
Place it on a cutting board and cover it with aluminum foil for 20 minutes or so. The bird will continue to cook, even while sitting on your kitchen counter (this is called “carry-over” cooking) and will reach the optimal 170° that is recommended by the U.S. Dept. of Agriculture.
If you are done frying, turn the burner off! Consider removing the pot from the fry stand to a firm, level, heat-resilient surface out of harms way–three gallons of 350° oil can be deadly to dogs, small children and even careless (read: drunk) adults.
ACCEPT PRAISE
 When you’re ready, carve it up (watch for squirting juices) and serve it up (watch for smiling faces).
When all is done, there is no reason to dump 3 gallons and possibly $75-$100 worth of oil right back into the environment. Peanut oil is a high quality oil that can withstand several fry cycles. After the oil has cooled and the junk has settled (perhaps overnight) you can filter the oil and pump it back into the plastic container it came in. Stored in a cool, dry place, peanut oil should not spoil and will remain usable for over six months. If filtered and stored correctly, you can use it the following year. If you “smoked” the oil by accident, you’ll have to toss it. We feel obliged to tell you to check with your local regulations on proper disposal, but most of the time oil must be accepted at your neighborhood auto-mechanic shop.
I hope after you try your turkey this way, you will never go back to the oven. Got questions? Try posting in the comments below. Like this article? Let your friends know on Facebook or Twitter. Bird appétit!
Over the years, the popularity of this guide has prompted good discussion in the comments… you guys have added a lot of value to the conversation. Nestled among the questions and answers, there is a lot of great information. But the comments of any blog can be a big tl;dr… So with that in mind, I re-read and culled the best information and posted it here: 10 Turkey Tips for your Thanksgiving Deep Fry.
I’m always looking to supplement our deep fried Thanksgiving turkey with the proper Cajun accoutrement… whether it’s an appetizer or side dish. I’ve been toying around with a recipe for Fried Cajun Stuffing Balls and I decided to finally get it down in digital form.
Belly Buddy Scott Stout has a recipe for Hush Puppies that will also go great with your Deep Fried Turkey.
And Belly Buddy Fatty Matty has sent us the mix for a proper Turkey Rub for your bird if you don’t want to use a packaged seasoning.


